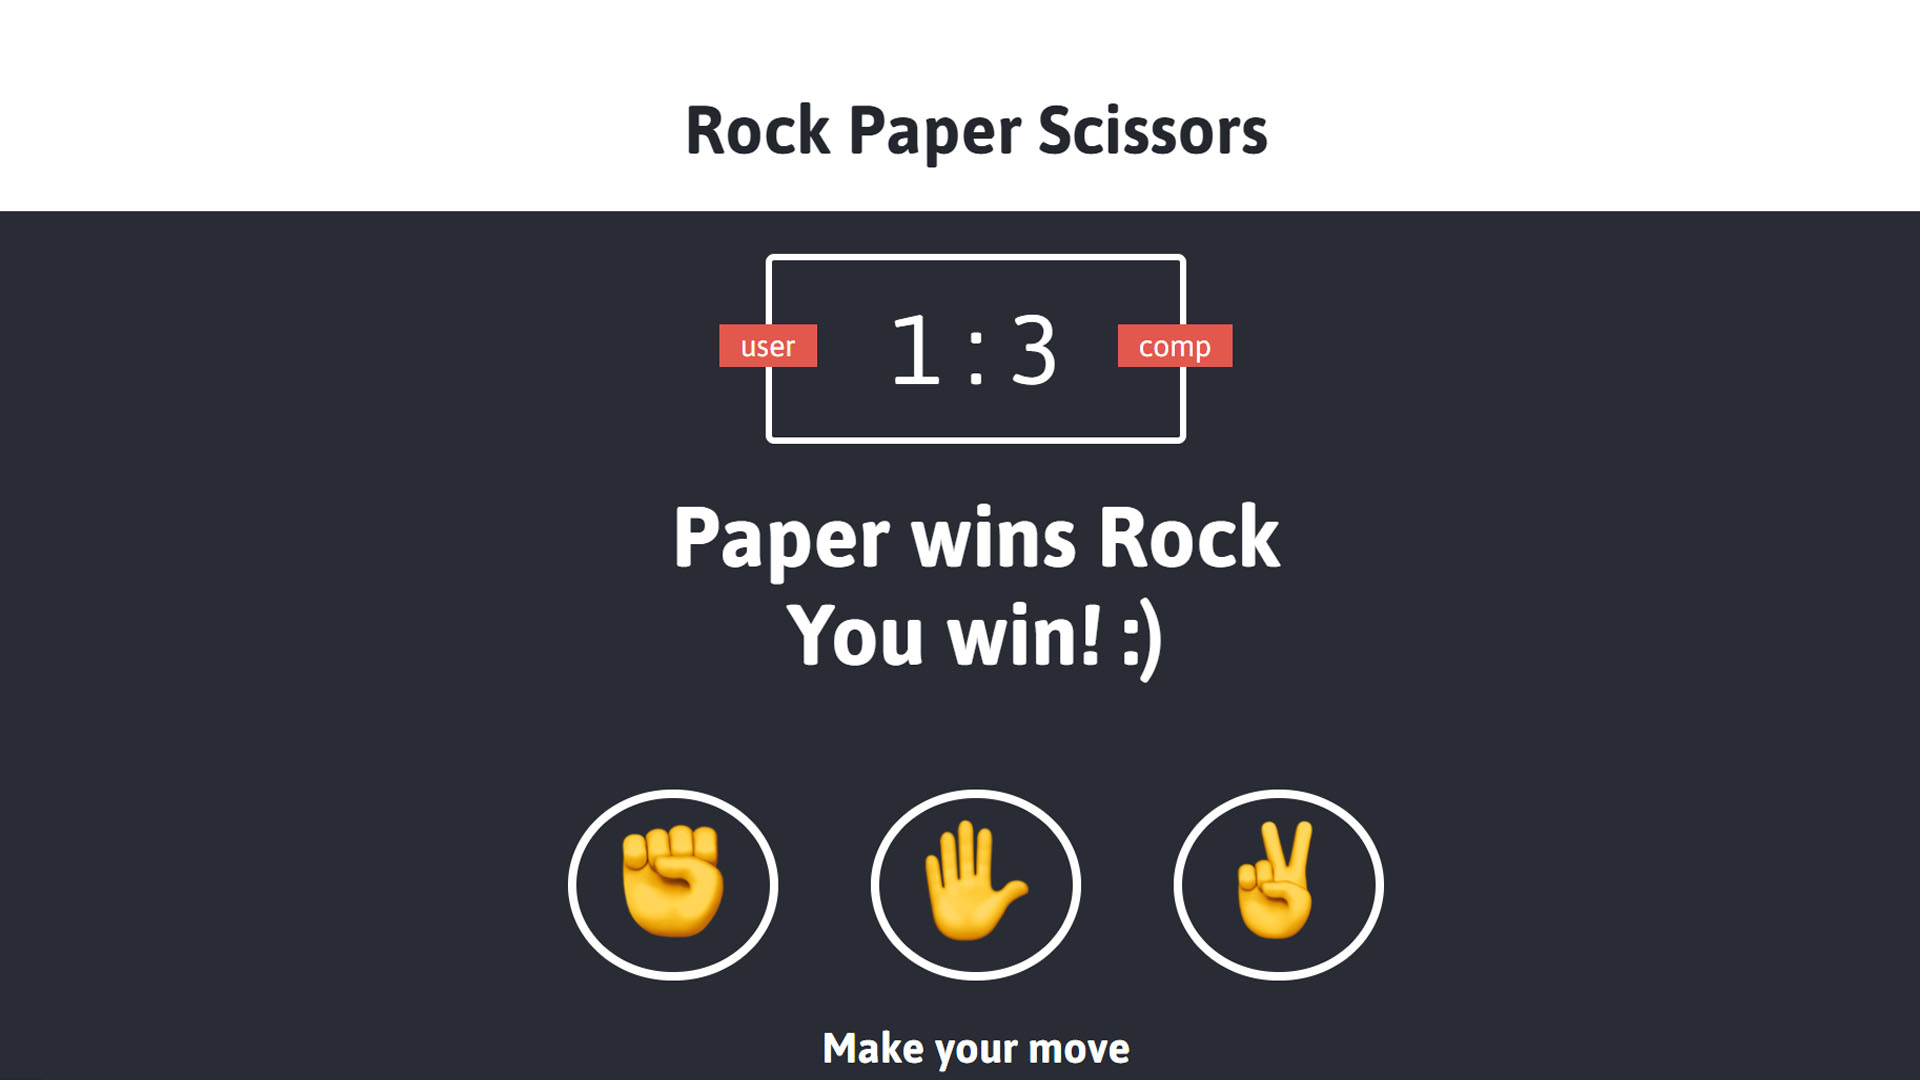
En esta oportunidad crearemos un juego del clásico piedra, papel o tijeras. Utilizaremos JavaScript puro y HTML5 y CSS3 para el diseño.
😀 Click aquí para ver la Demo 🤓
Recursos (Imagenes)
Paso 1 (Estructura del diseño)
Empezaremos creando el archivo index.html y codificamos lo siguiente:
<!DOCTYPE html>
<html lang="es">
<head>
<meta charset="UTF-8">
<meta name="viewport" content="width=device-width, initial-scale=1.0">
<meta http-equiv="X-UA-Compatible" content="ie=edge">
<link rel="stylesheet" href="css/style.css">
<title>Rock Paper Scissors Game</title>
</head>
<body>
<header>
<h1>Rock Paper Scissors</h1>
</header>
<div class="score-board">
<div id="user-label" class="badge">user</div>
<div id="computer-label" class="badge">comp</div>
<span id="user-score">0</span> : <span id="computer-score">0</span>
</div>
<div class="result">
<p>Paper covers rock. You win!</p>
</div>
<div class="choices">
<div class="choice" id="r">
<img src="images/rock.png" alt="">
</div>
<div class="choice" id="p">
<img src="images/paper.png" alt="">
</div>
<div class="choice" id="s">
<img src="images/scissors.png" alt="">
</div>
</div>
<p id="action-message">Make your move</p>
<script src="js/util.js"></script>
<script src="js/game.js"></script>
<script src="js/app.js"></script>
</body>
</html>
Paso 2 (Estilos)
Crearemos una carpeta “css” para llevar un orden y no tener los archivos sueltos. Dentro de la carpeta agregar un archivo style.css y codificar lo siguiente:
@import url('https://fonts.googleapis.com/css?family=Asap:400,500,700');

* {
    margin: 0;
    padding: 0;
    box-sizing: border-box;
}

body {
    background-color: #292C34;
}

header {
    background: white;
    padding: 20px;
}

header>h1 {
    color: #25272E;
    text-align: center;
    font-family: Asap, sans-serif;
}

.score-board {
    margin: 20px auto;
    border: 3px solid white;
    border-radius: 4px;
    text-align: center;
    width: 200px;
    color: white;
    font-size: 46px;
    padding: 15px 20px;
    font-family: Asap, sans-serif;
    position: relative;
}

.badge {
    background-color: #E2584D;
    color: white;
    font-size: 14px;
    padding: 2px 10px;
    font-family: Asap, sans-serif;
}

#user-label {
    position: absolute;
    top:30px;
    left: -25px;
}

#computer-label{
    position: absolute;
    top: 30px;
    right: -25px;
}

.result{
    font-size: 40px;
    color: white;
}

.result > p{
    text-align: center;
    font-weight: bold;
    font-family: Asap, sans-serif;
}

.choices{
    margin-top: 50px;
    text-align: center;
}

.choice{
    border: 4px solid white;
    border-radius: 50%;
    margin: 0 20px;
    padding: 10px;
    display: inline-block;
    transition: all 0.3 ease;
    width: 100px;
}

.choice:hover{
    cursor: pointer;
    background: #24272E;
}

#action-message{
    text-align: center;
    color: white;
    font-family: Asap, sans-serif;
    font-weight: bold;
    font-size: 20px;
    margin-top: 20px;
}

img{
    width: 80%;
}

.green-glow{
    border: 4px solid #4dcc7d !important;
    box-shadow: 0 0 10px #31b43a;
}

.red-glow{
    border: 4px solid #fc121b !important;
    box-shadow: 0 0 10px #d01115;
}

.gray-glow{
    border: 4px solid #ff8000  !important;
    box-shadow: 0 0 10px #ff8000 ;
}
Paso 3 (funcionalidad)
Luego, agregamos una carpeta a la cual llamaremos “js” que es en donde se crearán los archivos javaScript, el primer archivo que crearemos sera `utils.js”. En este archivo estarán todos los recursos que reutilizaremos.
"use strict";

class Utils {
    getElement(value) {
        return document.getElementById(value);
    }

    getQuerySelector(value) {
        return document.querySelector(value);
    }

    getComputerChoice() {
        const choices = ["r", "p", "s"];
        const randonNumber = Math.floor(Math.random() * 3);
        return choices[randonNumber];
    }

    convertToWord(letter) {
        if (letter === "r") return "Rock";
        if (letter === "p") return "Paper";
        return "Scissors"
    }

    addClassEffect(choice, _class) {
        const etiq = this.getElement(choice);
        etiq.classList.add(_class);
        setTimeout(() => {
            etiq.classList.remove(_class);
        }, 300);
    }
}
Agregar archivo game.js, aquí estará la funcionalidad general del juego.
"use strict"

const utils = new Utils();

class Game {
    constructor(userScore_span, computerScore_span, result_p) {
        this.scoreWin = 0;
        this.scoreLose = 0;
        this.userScore_span = utils.getElement(userScore_span);
        this.computerScore_span = utils.getElement(computerScore_span);
        this.result_p = utils.getQuerySelector(result_p);
    }

    main(userChoice) {

        const computerChoices = utils.getComputerChoice();

        switch (userChoice + computerChoices) {
            case "rs":
            case "pr":
            case "sp":
                this.win(userChoice, computerChoices);
                break;
            case "rp":
            case "ps":
            case "sr":
                this.lose(userChoice, computerChoices);
                break;
            case "rr":
            case "pp":
            case "ss":
                this.draw(userChoice, computerChoices);
                break;
        }
    }

    win(userChoice, computerChoice) {
        this.scoreWin++;
        const text = `${utils.convertToWord(userChoice)} wins ${utils.convertToWord(computerChoice)}<br>You win! :)`;
        this.paint(userChoice, "green-glow", text);
    }

    lose(userChoice, computerChoice) {
        this.scoreLose++;
        const text = `${utils.convertToWord(userChoice)} loses to ${utils.convertToWord(computerChoice)}<br>You lost! :(`;
        this.paint(userChoice, "red-glow", text);
    }

    draw(userChoice, computerChoice) {
        const text = `${utils.convertToWord(userChoice)} equals ${utils.convertToWord(computerChoice)}<br>It´s a draw!`;
        this.paint(userChoice, "gray-glow", text);
    }

    paint(userChoice, _class, text) {
        this.userScore_span.innerHTML = this.scoreWin;
        this.computerScore_span.innerHTML = this.scoreLose;
        this.result_p.innerHTML = text;
        utils.addClassEffect(userChoice, _class);
    }
}
Y para terminar, agregaremos un archivo app.js, aquí crearemos un funcion autoejecutable:
"use strict";

const userScore_span = "user-score";
const computerScore_span = "computer-score";
const result_p = ".result > p";

const game = new Game(userScore_span, computerScore_span, result_p);

(() => {
    document.getElementById("r").addEventListener("click", () => {
        game.main("r");
    });

    document.getElementById("p").addEventListener("click", () => {
        game.main("p");
    });

    document.getElementById("s").addEventListener("click", () => {
        game.main("s");
    });
})();
Para probar el resultado final, no esta de más decir que solo hay que dar doble click a index.html y listo!
Creditos
- whatsdev (YouTube)
Para obtener el código completo dar click aquí.
